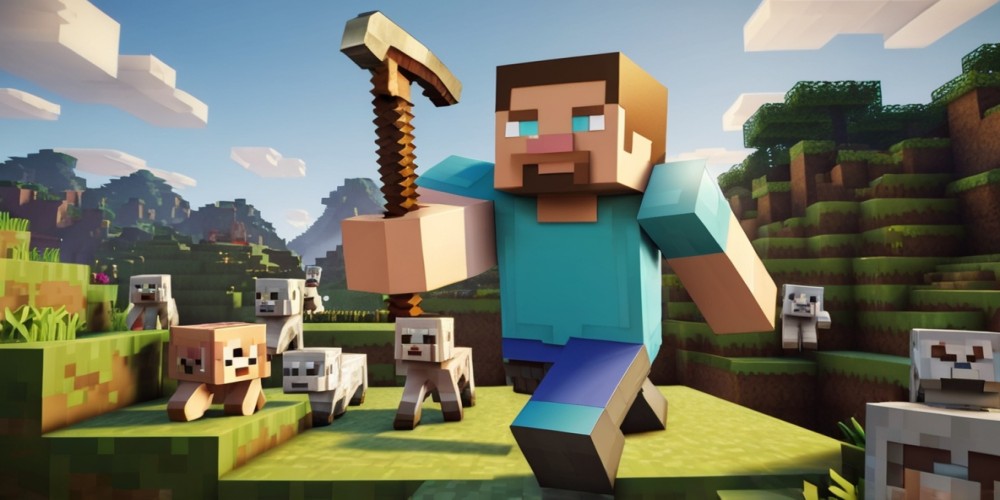
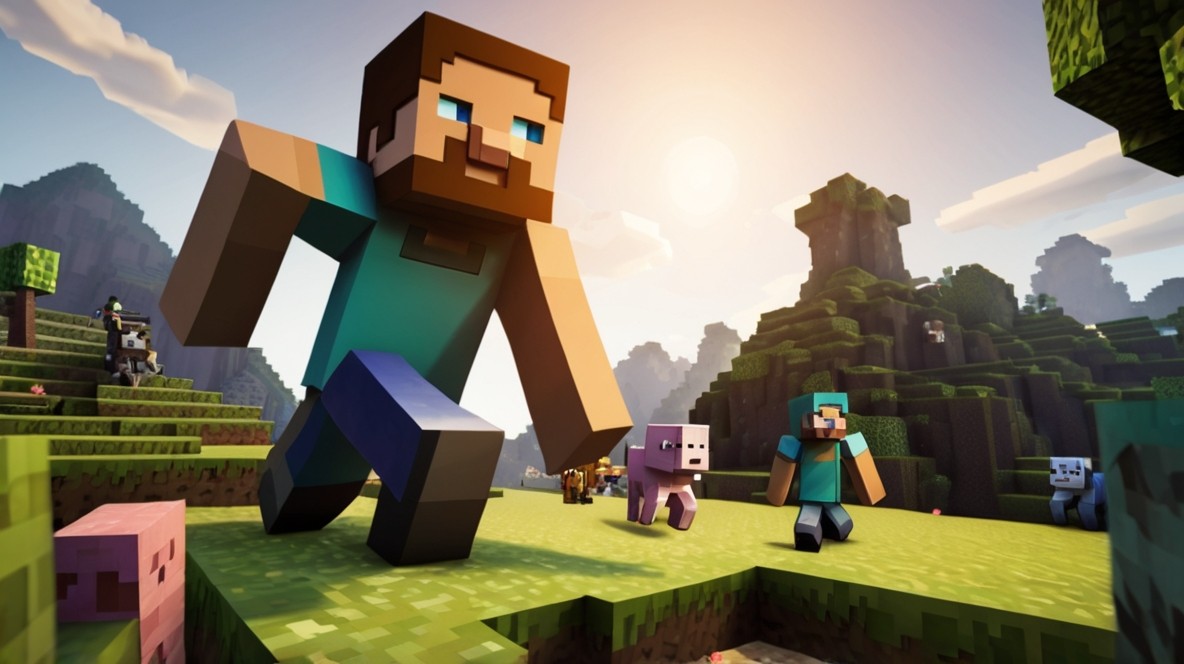
Comprehensive Guide to Setting Up Your Custom Minecraft Server
Aug-13-2024
Have you ever wanted to create your own Minecraft server but felt overwhelmed by the technical jargon or the steps involved? Worry not! Setting up your very own Minecraft server is a straightforward process if you follow the right steps. This guide will walk you through everything you need to know to get started, whether you'd prefer to host it on your own computer or go through a web hosting provider.
Creating a Minecraft server allows you to customize your gameplay experience, manage who can join, and even introduce mods to enhance the game. For parents, managing a Minecraft server offers a safer online gaming environment for children. Let’s dive into the details.
Why Set Up Your Own Minecraft Server?
Setting up your own Minecraft server comes with a multitude of benefits. First, it grants you complete control over the game environment. You can manage player roles, define how objects spawn, and adjust in-game physics to your liking. This freedom allows for a tailored and unique gaming experience that you can't get from public servers.
Additionally, creating your server acts as a form of parental control. Parents can manage who their children interact with online, providing a safer playing environment. Knowing everyone who connects to the server offers peace of mind and adds an extra layer of security.
Choosing Between VPS and Local Hosting
When it comes to hosting your Minecraft server, you have two main options: virtual private server (VPS) hosting or local hosting on your own computer. VPS hosting generally makes the process simpler and offers customer support, which is beneficial if you're not highly tech-savvy.
On the other hand, hosting on your own computer saves money and gives you complete control but requires more technical knowledge. The quality of your home internet connection plays a crucial role, as a poor connection can severely affect gameplay for all connected players.
Preparations Before You Start
This is crucial for both VPS and local hosting. Your choice of hosting will dictate your next steps, requiring either a financial investment for a VPS or a technical setup on your own computer.
If you choose VPS hosting, numerous providers offer services tailored for Minecraft, simplifying the initial setup process. If you prefer local hosting, make sure you have Minecraft Java Edition installed, as it is necessary for running a custom server.
How Complex Is the Setup?
The complexity of setting up a Minecraft server largely depends on your familiarity with command line operations and server management. Using a web hosting service like Hostinger can simplify the process significantly and reduce the initial setup time.
However, even if you opt for local hosting, the process is more manageable than it might seem at first glance. Detailed guides and resources are available to help you through every step, ensuring that you can get your server up and running without too much difficulty.
Time Investment for Setting Up
The time required to set up a Minecraft server can vary. With a web hosting service, it may take anywhere from a few hours to a day, depending on the provider's activation times. For a local setup, if you're already familiar with the necessary steps, it could take just an evening.
Be prepared to spend some time tweaking settings and resolving any initial issues that arise. This is especially true if you’re new to server management. The effort you put in initially will pay off in a smoothly running server that you and your friends can enjoy.
Creating a Minecraft Server with Hostinger
Hostinger is a great option for setting up a Minecraft server, thanks to its tailored plans and user-friendly interface. Hosting on Hostinger means you can easily manage your server, install mods, and upgrade plans as needed.
Begin by choosing a plan that suits your needs. For smaller groups and simpler setups, the Game Panel 1 plan with 4GB of RAM should suffice. This plan is economical and allows for a good amount of customization, making it a popular choice among new server admins.
Setting Up on Hostinger
Once you've chosen a plan, log in to your Hostinger account to begin the setup process. Click the Setup button and follow the guided instructions, including setting a server name and root password.
After the initial setup, your server will be accessible from the VPS Menu on your account homepage. From here, you can manage all aspects of the server, including IP addresses, player connections, and resource usage.
Configuring Your Server on Hostinger
Hostinger provides a Game Panel that simplifies running and managing your server. Start by selecting your Minecraft edition (Java Edition is commonly used) and follow the setup instructions. Once your server instance is created, you can start it, accept the EULA, and begin playing.
To connect to your new server, share the endpoint information found in the Manage section of your Game Panel with your friends. This information will allow everyone to join your custom Minecraft world easily.
Hosting a Minecraft Server on Your PC
If you prefer a hands-on approach, hosting your Minecraft server on your PC is also an option. This method requires you to have Minecraft Java Edition and the latest version of Java installed on your computer.
Using your PC for hosting gives you complete control over server settings and configurations. However, be prepared for a more involved process compared to web hosting services. Follow detailed guides to navigate through the command line and configuration files.
Important Software for Hosting Locally
When setting up a Minecraft server on your PC, ensure you have all the necessary software installed. In addition to Minecraft Java Edition, you'll need Java Development Kit (JDK) and possibly additional tools depending on the complexity of your server.
Keeping your software up-to-date is crucial for smooth server operation.
Final Steps and Enjoyment
Share the server's IP address and any necessary login credentials. You can also explore various mods and plugins to further customize your server and gameplay.
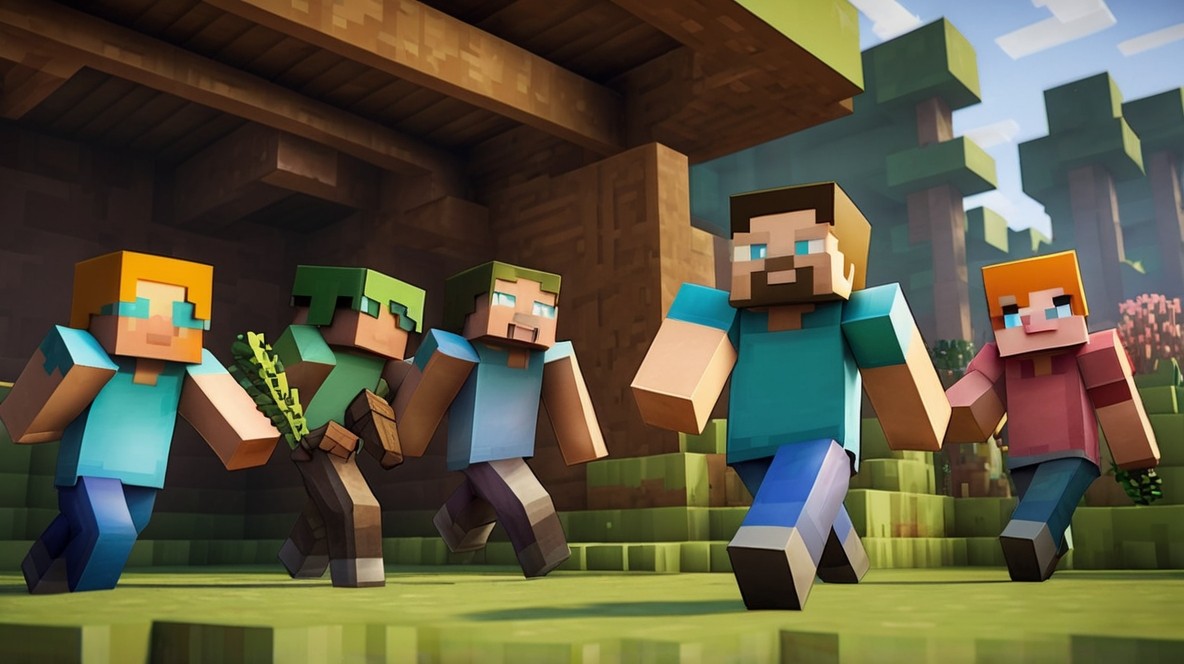
Enjoy the creative freedom that comes with managing your own Minecraft server. Whether you’re building massive structures, hosting mini-games, or simply exploring with friends, the possibilities are endless.


